Before and After: Our Current Kitchen
One of my biggest regrets of living in our current home is not taking professional photos of it when we moved in. You’d think, as a professional photographer embarking on a giant home renovation, I would’ve prioritized that— but, alas— the kitchen didn’t make the cut.
Still, though, a before/after home tour is one of our most frequently requested topics on Instagram, so I’m happy to deliver that here!
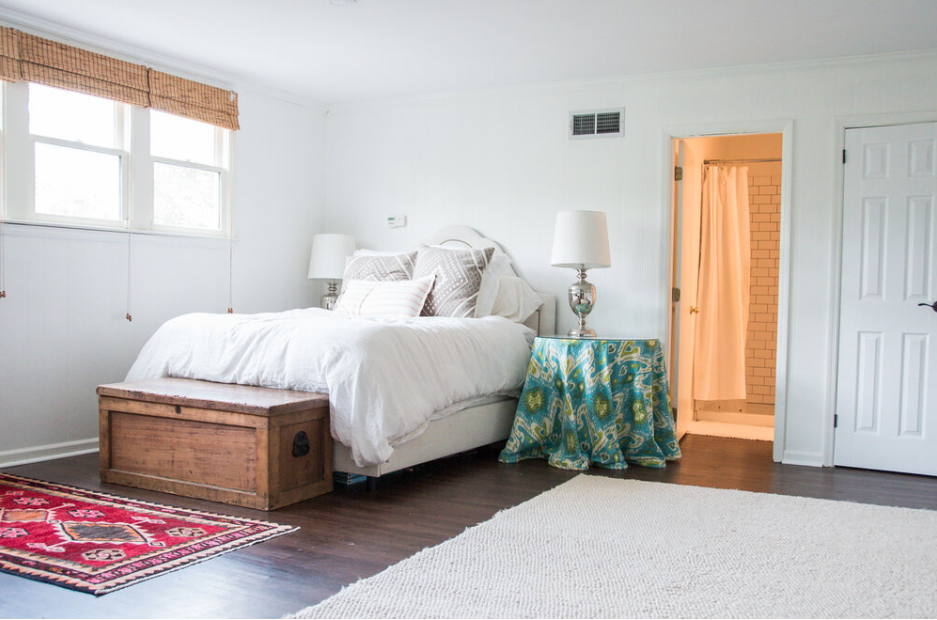
When we first bought our home, I knew that in order to maximize our natural light, we’d need to create more reflective surfaces and remove unnecessary doors and window covers. Because our kitchen doesn’t get much natural light (and because it’s where we spend the most time!) it was the first on our renovation list.
Because we were on a budget, DIY cosmetic work was the name of the game. I’m proud to say that we did almost all of our home projects by ourself (with the exception of installing the downstairs floor), saving big money throughout the process.
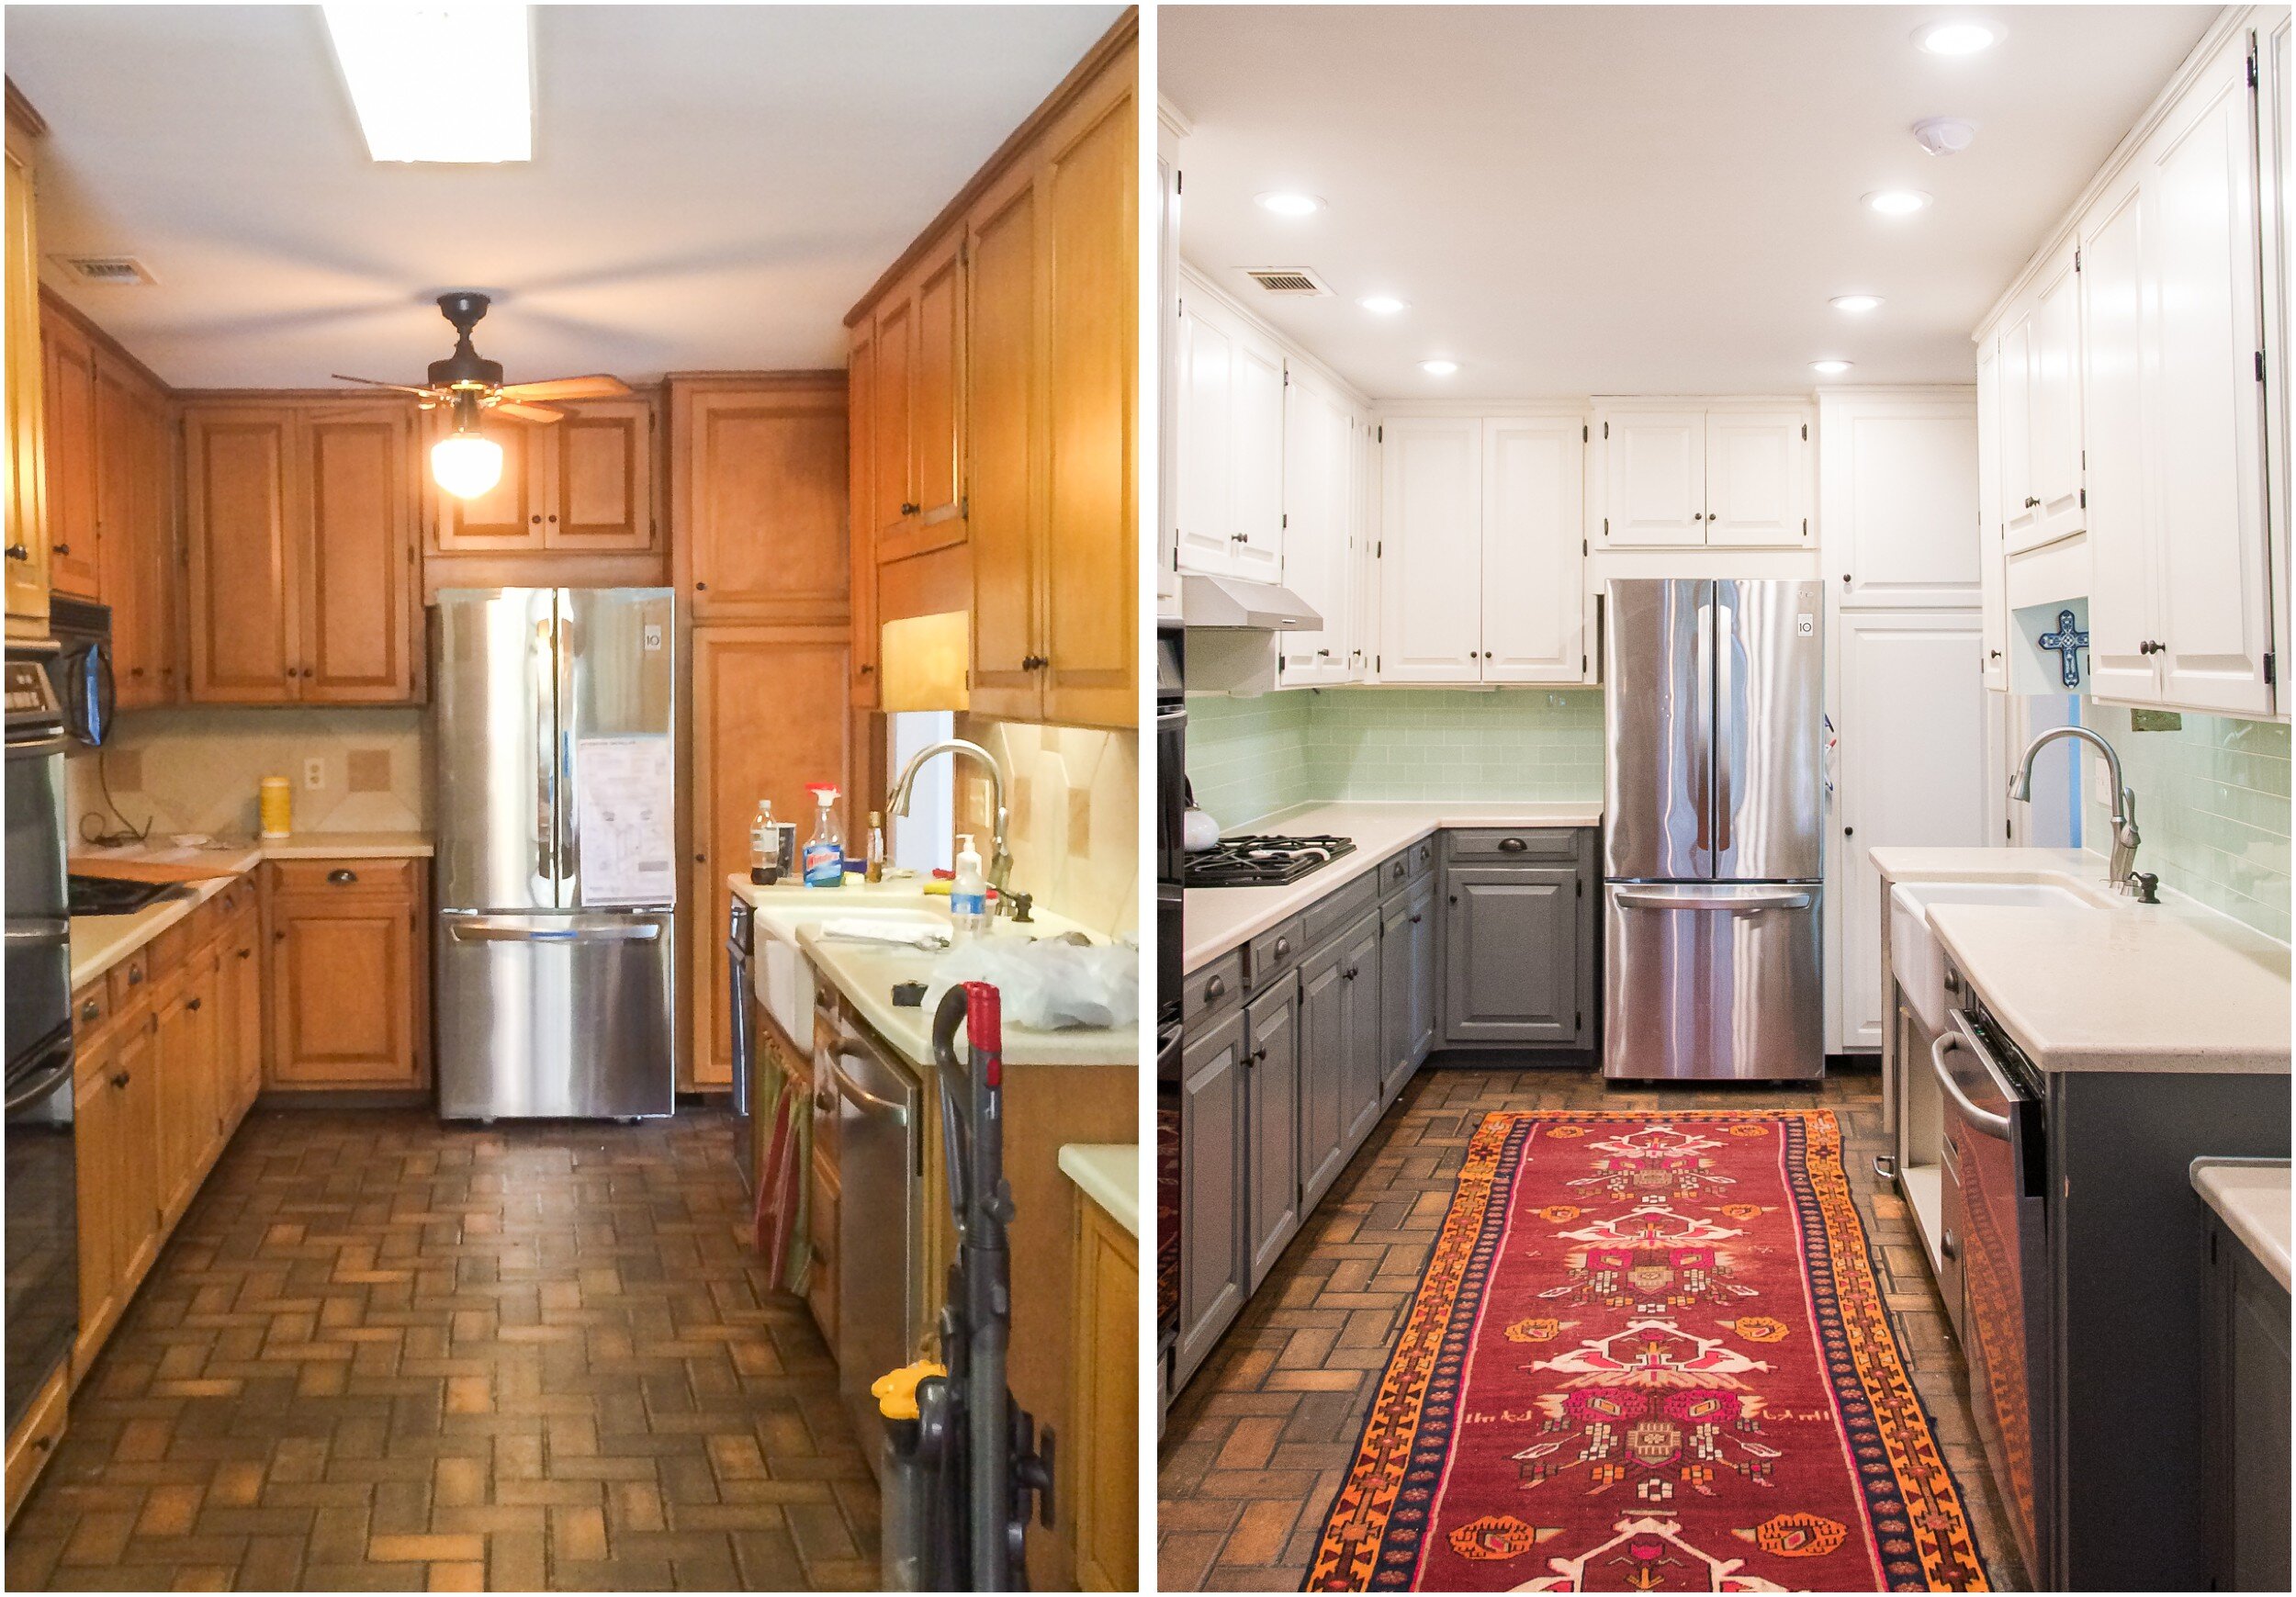
The original kitchen, as you can see, had DARK wood, travertine tile, low ceiling fans, and fluorescent lights.
There were, however, some things that we knew we had going for us:
The cabinets, though dark, were custom built and well-made.
The large apron sink is exactly what I would have picked myself.
The appliances could stay.
The countertops (corian) were sturdy and in good shape.
The original brick floors added tons of character (and hid dirt well!)
There was (and is!) TONS of storage.
Still, though, there was a lot of work to be done. Prioritizing our “must-dos” first, we:

Painted the cabinets
Painting original anything is a bit of a polarizing topic, so I’d like to invite you to unfollow these home updates if this makes your blood pressure rise. We painted cabinets, paneling, BRICK— we did it all! Fair warning, dear reader!
We knew that the biggest “bang for our buck” in transforming this kitchen would be to paint the cabinets, and that’s exactly what we did.
I knew that I wanted a two-toned look, both for aesthetic and for functionality. Though we were kid-less at the time of this project, we knew that they’d be on the horizon, which is why we chose a darker cabinet base color.
We went with Swiss Coffee by Benjamin Moore for the uppers— a crisp, clean white, and Ocean Storm for the lowers— adding dimension while also hiding little handprints and inevitable food splatters.
Rather than replacing the hardware ($$$) we cooked off the grime in a crockpot (oh, yes we did!) and spray painted them. 5.5 years later, they’re still going strong!
Actually painting the cabinets turned out to be quite a challenge. Because they’re mounted to the walls, removing anything other than the doors was a no-go. We originally bought a paint sprayer, but the oil-based paint clogged it frequently, and it was a nightmare to clean. About halfway through, we abandoned ship and switched to hand rollers and brushes, being careful of drips.
Though it took a lot of sweat (and face masks), I’m so happy with how it turned out!

Replaced the backsplash tile
If you know me, you know that tan travertine tile just… isn’t my style. It added to the darkness and heaviness of the kitchen, and I couldn’t get behind it. I searched high and low for a tile that would add a pop of color and lightness to the room, and settled on Storka Urban Hues 3x6 tile in Mint (find a similar style here), from South Cypress. It’s a glass tile and provided the perfect contrast with the white and gray cabinets.
Our customer service from South Cypress was fantastic. They were very helpful throughout the ordering process, and when several boxes arrived damaged (no fault of their own) they quickly and kindly sent replacement boxes. I’d highly recommend them!
Added recessed lighting
As you can see, the previous ceiling fans hung quite low, and the fluorescent lights weren’t doing anyone any favors. Rather than traditional can lighting, we chose to use LED recessed lights (similar here)— FAR easier to install, and the LED bulbs mean far fewer bulb changes. The bright lights (on a dimmer) completely transformed the kitchen and made it no longer feel like a cave!
We also added a fixture over the eating area for a bit more dimension and, though it’s not super bright, it’s perfect.

Removed a door
One of my favorite ways to transform a space is removing an unneeded door. I find that in so many older homes, doors are EVERYWHERE, disrupting a room’s flow and blocking valuable natural light. We removed the swinging door between the light-filled den and the kitchen, and the payoff was huge!
Replaced the microwave for a vent hood
The built-in microwave/vent hood that sat above the cooktop was neither functional nor appealing for us. We couldn’t fid a full pot underneath it, and the heaviness of the microwave was too stark against the fresh white cabinets. So, we removed it completely and added a small stainless steel vent hood that we found on clearance— my, what a change that made!
Mounted outlets to the bottom of the cabinets
This was one of my favorite things that we did. Rather than cut new boxes into the backsplash, we tucked them under the cabinets in the kitchen’s work areas. I love how clean and uncluttered it looks.

Added a built-in banquette with storage
Much to my handy husband’s dismay, this corner was just begging for a built-in banquette. He spent a weekend designing and building the boxes (with lift-up seating for hidden storage) and it’s been the perfect place to sit with all of the kids for dinner.
Added pull-out pantry shelves
Though we have a “true” pantry, it’s off of the mudroom and I wanted something closer to the kitchen workspace. After years of keeping our canned goods in cabinets, Mike made use of a tall, empty cabinet next to the refrigerator and added pull-out shelves for an accessible, functional pantry (tutorial coming soon!)
Polished it off with a funky runner (my favorite!)
If you know me, you know that I LOVE a vintage rug. It ties a room together and adds a pop— I am HERE FOR IT. We got this one through Wildwood Rugs on Instagram— she has some amazing rugs at great prices!

So, there you have it! Our DIY kitchen makeover. Have any questions? What are your thoughts? Leave them in the comments below!